
See how I stencil!
Upfront, I owe you a video but I only have two hands. This will get you going while I get you more data.
Hydro-dipping is a great way to finish your 3D Prints.
It’s a relatively simple process that can add great effects to any project you are working on. There are a few videos on Youtube that explain the process but they don’t completely answer the mail for 3D Prints.
With a little preparation, you can have high quality, unique designs.

This print came out extremely well. As it was my first, I was impressed.
Boom!
Here is what you need to start.
- A 3D printer – I run a CR-10S and Creality Ender 3
- Some Filament.. I run dikale 1.75mm PLA.
- A 5 gallon bucket
- Good quality, oil based, primer spray paint. Nearly all canned spray paint is oil based. If it requires mineral spirits to clean up.. you got a bingo!
- Your choice of colors of oil based spray paint. I run Rust-oleum 2X.
- Some luke warm water, high enough in the buck to submerge your 3D Print without hitting the bottom
- A way to lower your print into the bucket. I use a paint stick and something to stick your print to it. I use Exterior Mounting Tape.
Start by putting a good coat or two of primer on your print.

Make sure to cover the print with primer from all angles.
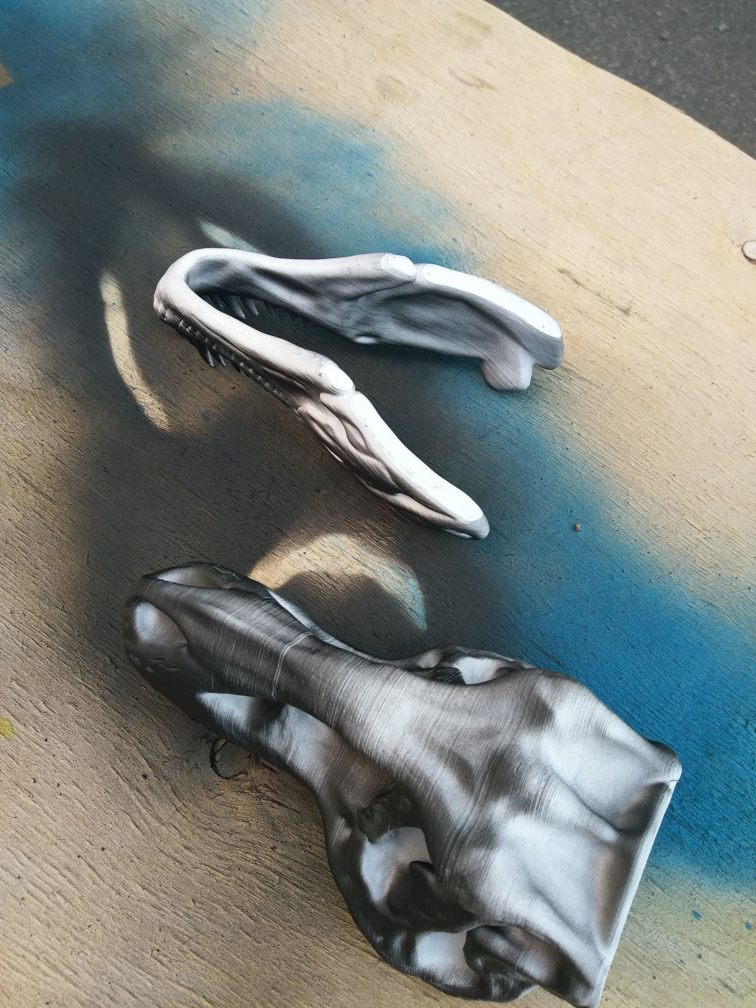
Let it dry between coats. 
Flip, turn, spray, wait.. repeat.
Getting there…
Another angle.
Two coats later.. I got it.

WAIT…
Let it cure for a day or two.
Then…
With your bucket of luke warm water and a way to dip your print.
Stick your print to something.

Pick your colors!
It’s your design so get as creative as you want. I used 3 colors on this Dinosaur head.
- Red
- Silver
- Black
I used two colors on the Fallout cellphone stand
- Blue
- Yellow
Paint the water?
Yes, you spray the top of the water with the paint and create alternating rings of paint. Typically, you always spray the center of the water and the rings start to form. After you have laid enough paint down, the top of the water will be covered.
There is no wrong answer.
Stylize…
Take paint stick number two, or something to mix the patterns on the water and mix it up a bit, a pull here, a pull there. Don’t mix it though.
Slowly lower your print into the water.
Within a minute or so you need to start the process. Don’t worry about angles or degrees, the water is completely covered in paint and your primered print will soak it up. Completely submerge your print and keep it there.
Move the paint out of the way.
With your print still submerged, use a stick or folded paper to move the excess paint to the edge of the bucket, it’ll go pretty easy.
Pull your print out through the clear opening of water your created and say, WOW!

Let it dry.
You can use canned air to clear out some of the water on the print but, don’t get carried away.
Enjoy!
 At this point you can run it as-is or put on a clearcoat to lock in the colory (my word) goodness.
There is a ton of other useful stuff on Makersteve.com and more coming every week.
See all my designs on Thingiverse.com
Be sure to check out my Ultimate Build Guide for Creality Ender 3
If you find this useful, please consider purchasing products through any of the links on the page, it’s free to you and I get a little something for my time. Or, just go shopping at Amazon or Ebay or Gearbest using the links provided.
You can also support me through Patreon with as little as a dollar a month.
Happy Printing,
Steve