
If you like what I am doing, please click like. If you are ready to start your Black Friday/Cyber Monday start here! I get a little back for my effort.
Sign up for a free month of Amazon Prime on me or if you are Student 50% off with a six month trial!
Be sure to check out the Ultimate guide to replace a failed blower or fan.
I’ve been through a bit of hotend drama on my CR-10. I burned up a couple hotends printing many, many dozens of artillery shells. I want to keep my printer as stock as possible for as long as possible. I tried to do it on the cheap but it did not work out.
DISCLAIMER:
I completely understand that there are better hotends and firmware. However, I am not doing this to build and rebuild my 3D printer, I do my designs on Thingiverse and print them and sell them on eBay and Etsy. I also blog about my fixin’s and recommendations here at Makersteve.com. I want my printers simple, easy to maintain and to minimize the complexities that come with dramatic system changes. I do understand that some people like to build, rebuild and improve their 3D printer. If I offend you by continuing to use a stock hotend, I apologize in advance. I am sure this will benefit a large group of stock CR-10 users.
A little history,
A couple months back, I purchased some knockoff hotends for the CR-10 off eBay for about $8 a copy.
The look okay in the bag.

They don’t pass the sniff test once you take them out.


Creality CR-10 hotend on the top.. knockoff on the bottom.

Of course they said OEM, Original! What I found is they do not include the PTFE on the inside of the hotend throat. They print for a bit, clog up and quit. The issue seems to be related to retraction. They also do not have the same quality cotton and kapton tape on the hotend body. They are now spare parts in the collection of stuff that is Makersteve collection of stuff.
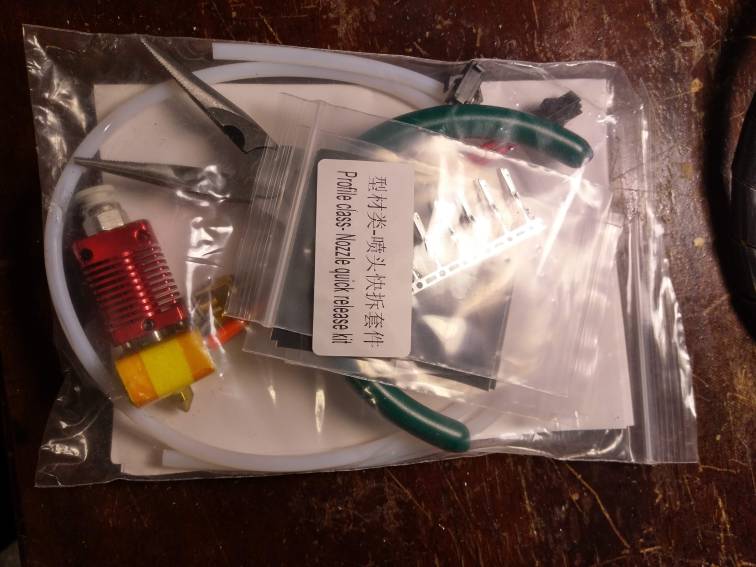
I found the Original MK8 Extruder Hot End kit 0.4mm Nozzle For CR-10 Series 3D Printer on eBay from Creality-3d-direct, the same place I purchased my used Ender 3s and CR-10S. Their little store has some good deals. This hotend has the added feature of providing quick connectors for future hotend replacement. The kit comes with everything required, PTFE, connectors and a cheap set of narrow nose pliers.
Sounds Makersteve Approved so let’s check it out.
Best part: NO SOLDERING
Difficulty: Easy
Time required: 15 minutes/ish
Tools required:
Everything else comes in the kit.
Stuff recommended:
Loctite Blue Stick, Medium Strength Threadlocker
To begin:
Now you are ready to get to work. Start by powering off your control box on the CR-10. There is a switch in the back or disconnect the main power to be sure.

Disconnect your hotend wiring assembly.

Now to remove the hotend

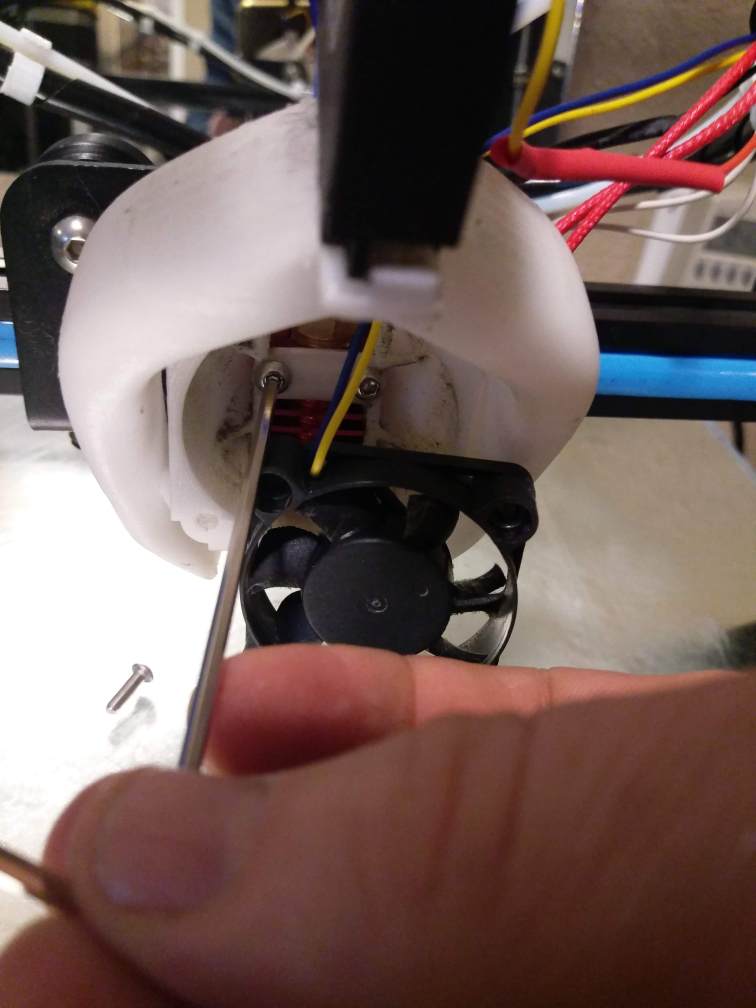
Use an allen wrench to remove the screws securing your fan. If you have the stock fan housing, the process is the same. Six screws total, two are longer, they mounted the hotend itself. 4 mount the main fan, 2 mount the blower.


Press down on the blue PTFE connector and pull out the PTFE tubing.

Take a look at the shipping list and instructions… you won’t need em.
Inventory your kit!
Measure your wires, you’ll be doing some clipping.
Cut the thermister wires to length.
And the heater wires
Strip all four
Nice and clean
Install the connectors. Bigger portion on the wire shielding. Smaller clips on the wire itself.
Same for the heater wires
Crimp them on and check to ensure they hold with a tug.
Grab two connectors.

Take a look at the instructions you didn’t need and ensure you install the correct way.
Prong side of the connector with the connector catch on the wire connector in the same direction.
The wires are solid colors, you can put them in the connector either way.

Insert by hand and push them in tight with the pliers.
Install the hotend back in your assembly – however you do that.
Assemble the quick connects.
BAM!
Wrap it all back up.
Take out your PTFE cutters if you are going to reuse your existing PTFE.
WOW!
Clip back your PTFE so you get a tight connection. I cut back my PTFE each time a remove it from the compression fitting.
CLIP!
Insert the PTFE into the compression fitting, ensure it goes in about a half inch. If it goes in and stops right away, keep pushing.
Reassemble in reverse.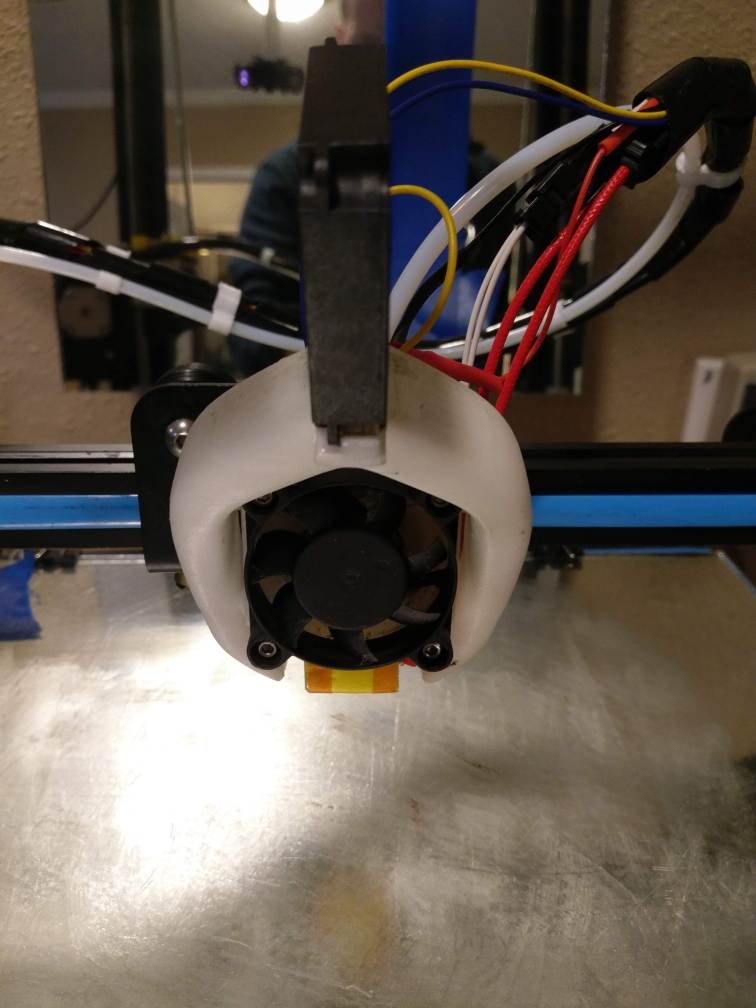
Power on your printer and check to see everything is okay. In my case, Octoprint doesn’t like the printer off.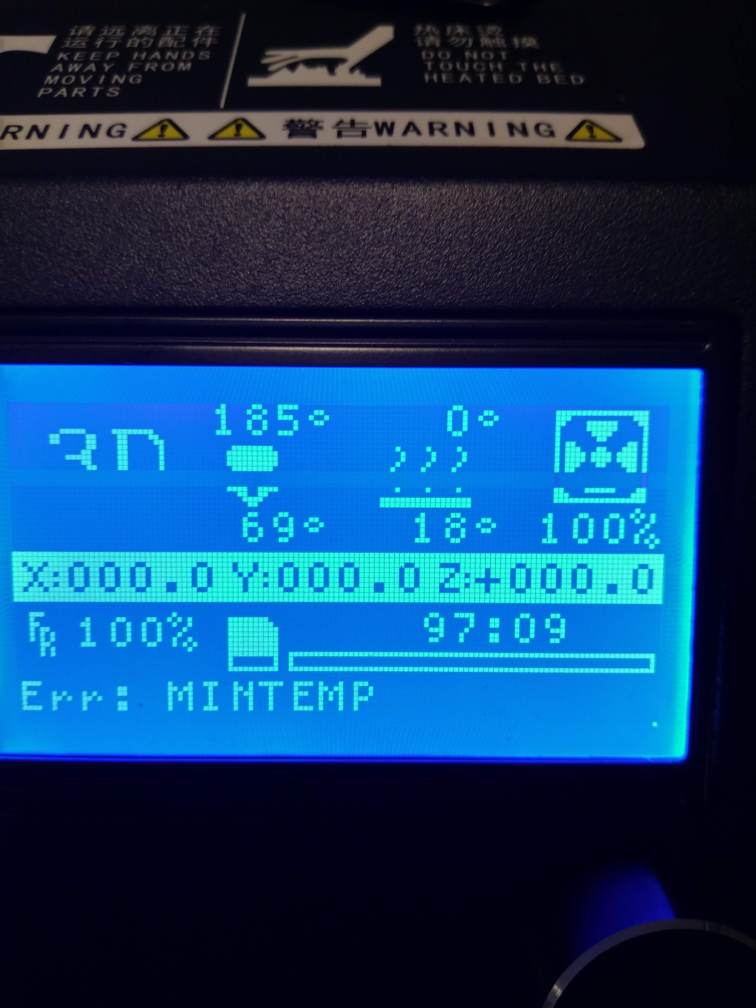
So I unplug the USB and plug it back in to allow Octoprint to reset.
Level or tram your printer and get back to printing.
There is a ton of other useful stuff on Makersteve.com and more coming every week.
Be sure to check out my Ultimate Build Guide for Creality Ender 3
If you find this useful, please consider purchasing products through any of the links on the page, it’s free to you and I get a little something for my time. Or, just go shopping at Amazon or Ebay or Gearbest using one of these links.
You can also support me through Patreon with as little as a dollar a month.
Or buy me a Ko-fi! Someone buy me a coffee.
Happy Printing,
Steve
Do you know what snap fitting is needed for the hot-end wiring?
It comes with the kit. I do not know what fitting it is.